Undermount Sink Installation Services Overview
Visitors will learn about how local contractors handle undermount sink installation services and can compare options to find the right provider.
- - Residential homeowners seeking professional undermount sink installation services to upgrade or replace their kitchen or bathroom sinks.
- - Commercial property managers or business owners needing reliable local contractors for installing undermount sinks in commercial kitchens or restrooms.
- - Property renovators or contractors looking to connect with experienced service providers for precise and efficient undermount sink installations.
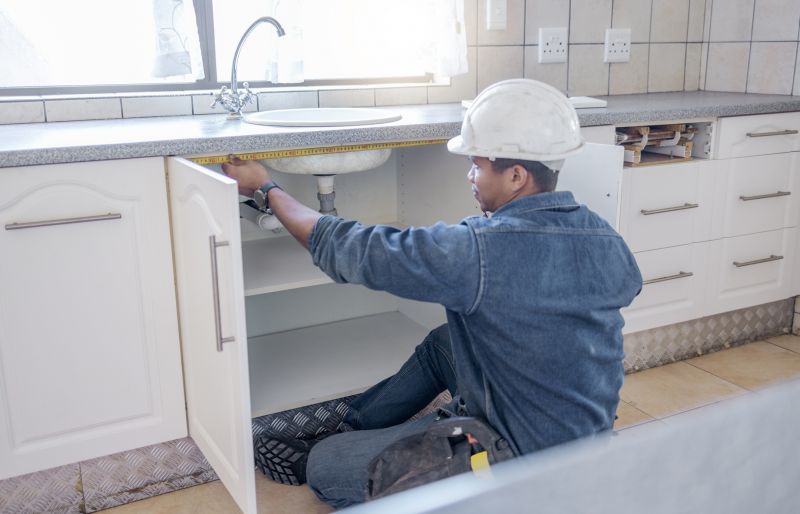


Undermount sink installation is a common upgrade or replacement project for property owners seeking a sleek and seamless look in their kitchens or bathrooms. This type of work involves removing existing sinks, preparing the countertop surface, and securely installing a new undermount sink that integrates smoothly with the surrounding surface. Property owners often seek assistance from experienced local contractors to ensure the installation is done properly, avoiding issues such as leaks or improper sealing that can lead to damage over time.
Local service providers specializing in sink installations can handle a variety of tasks related to undermount sinks, including measuring for proper fit, securing the sink underneath the countertop, and ensuring a clean, professional finish. These professionals typically work with different types of countertops and sink styles, providing options that match the aesthetic and functional needs of each property. Connecting with qualified local contractors can help property owners find the right expertise for their undermount sink projects, ensuring the work is completed efficiently and to standard.
This guide provides helpful information to understand the key aspects of undermount sink installation. It assists in comparing local contractors and understanding what to consider when planning a project. The goal is to help visitors gather the basics needed to connect with qualified service providers in their area.